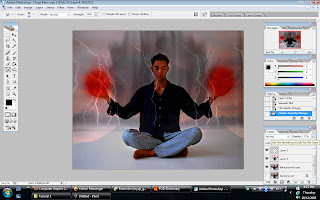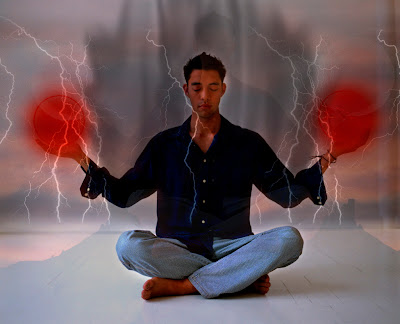


Now i show some of the steps and pictures that
i snapshot during the making of the tutorial:
Step 1:
 I use the brush tool to make the fire ball and color balance to edit some of the layer appearance.
Step 2:

 Next,i opened the lightning layer and copy the area that i wanted by selecting it using marquee tool and paste it on the basic layer of the "yoga man".Then,i duplicated the lightning area to add the effect and then i adjust a bit on the layer's opacity.I blend all the lightning layer together.
Step 3:
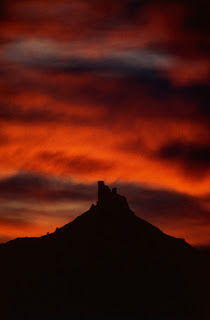
 I open the Mountain Sky layer then flipped it and paste it in the "yoga man" layer.
Step 4:
 After that,i change the opacity of the mountain layer and blend and combine all the layer included.
Step 5:
 Then,i opened a new layer inside the 'yoga man' layer then i use the brush tool and make a BLACK line around the man's shoulder and head. Afthe that,i use the smudge tool and smudge the black line to make it look like a smoke effect behind the man. Next,i use the gaussian blur effect and apply it to the smoke layer to make it look better.
Step 6:
 Then,i opened the yoga man layer,then i delete the base background for future use.
Final Step:
 Now,i applied the duplicated layer and combine it in this layer.So,that's the last step of my tutorial 5.

No comments:
Post a Comment